How do I actually use a sourdough starter?
There is a huge volume of information out there about sourdough and much of it is rather overwhelming and intimidating. I agree. A lot of it is terribly scientific and for those of us who tend toward the poet rather than the engineer, all that science is just intimidating: like reading a computer manual or the instructions for programming the tv remote (I may have broken into a sweat just typing that). My response is this: please don’t get freaked out about sourdough – read on instead.
Let’s get down to brass tacks: some simple sourdough factoids
In order for bread to rise you need air bubbles to form in dough and you need flour that creates dough that will puff out as the air bubbles form. If you want bread as we know it in the west – “yeasted”, “levened”, or “risen” bread, ie bread with air holes in it – you need air bubbles in the dough. The bubbles in dough are created when yeast is added to flour and water. You can add yeast from a package to your dough or you can refreshed “sourdough starter” which is a paste of flour and water in which yeast is trapped. There are yeasts in the air all around us and making a sourdough starter is just a way of bottling them!
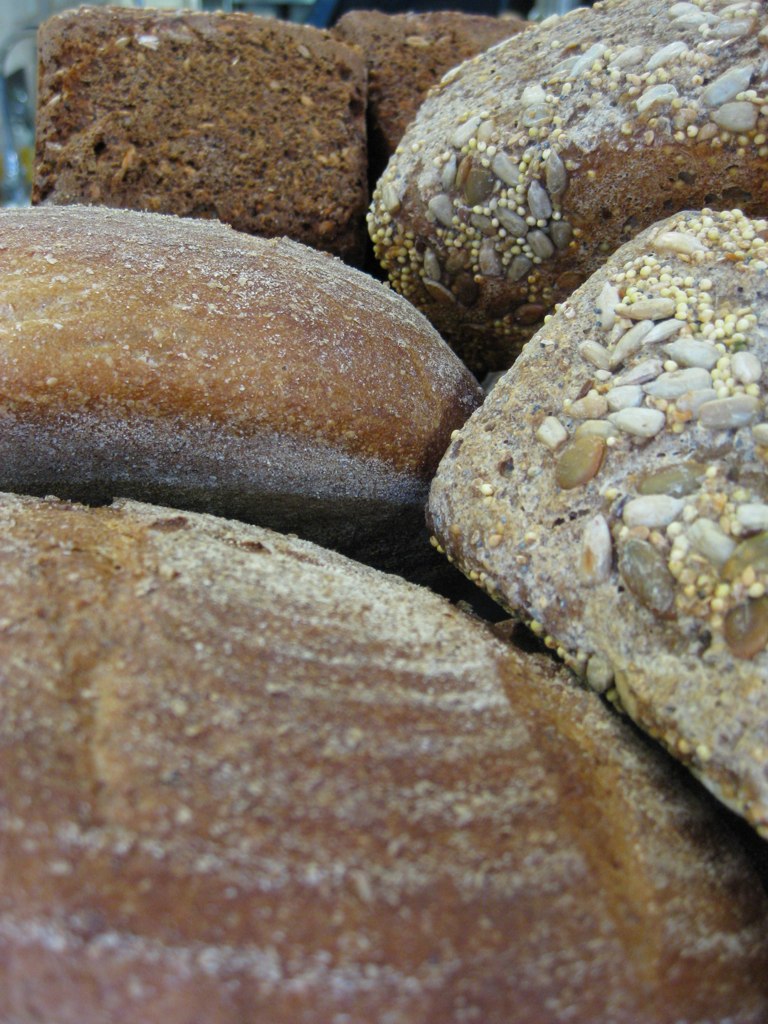
There are different kinds of sourdough and they make different kinds of bread. Sourdough bread does not necessarily taste sour and although many people like it that way, plenty do not. The starter can be made out of just about any kind of flour although the most common are probably wheat, spelt and rye (if you eat gluten). If you like German/Scandinavian style bread with a more closed, dense inside, you probably prefer a rye sourdough starter. If you prefer French style bread, with a more open, fluffy inside you probably prefer a wheat starter.
Baking with sourdough is similar to baking with added yeast
Once you decide what kind of bread you want, you need to understand the process of baking with sourdough which is either two or three steps long:
1. refresh the sourdough2. make a predough (optional)3. make a final dough
In many ways this is just like making bread to which you add yeast from a package – it is just that the process is longer. In “normal” bread (assuming you don’t use instant yeast) you need to proof the yeast and then take the dough through 1-3 rises before you bake it. All of that can happen in 4-6 hours minimum and it can take much longer if you want it to. With sourdough bread you need to refresh the sourdough (like proofing the yeast only it takes between 6-12 hours rather than 15 minutes) and then take the dough through 1-3 rises that take around 5-24 hours at a minimum although again it can take much longer if you want it to.
Exactly how you refresh the sourdough, make the predough (if you are doing it) and make the final dough varies by recipe.
An award winning sourdough loaf can be fiddly and require many stages in which you knead, let rest, shape, let rest, shape, let rest, shape, let rest…..before finally baking. You can, however, make a perfectly decent and delicious loaf by kneading, shaping, and letting rest until it’s time to bake it.
If you would like to learn more, click here to take our amazing one day sourdough course. You will learn loads, eat loads, and have loads to take home. Tame the wild yeast in a day – you really can.